REPLACING A COLD READER
| REPLACING A COLD READER 2020 |
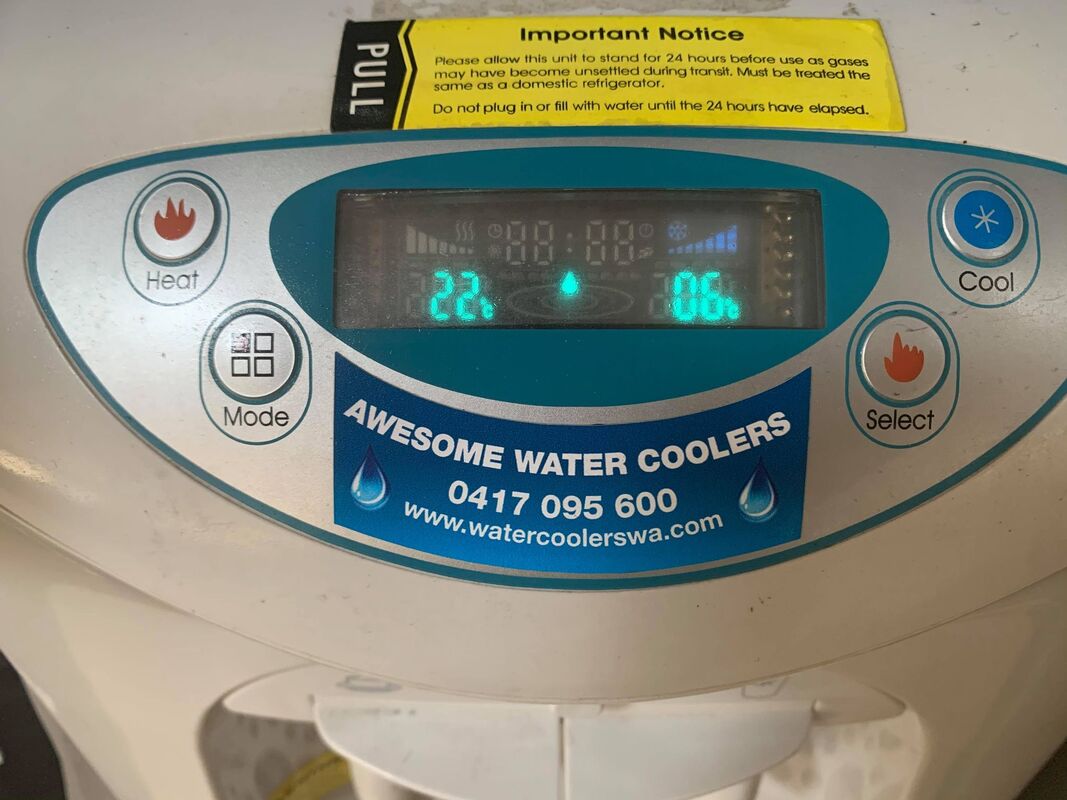
Digital screen temperature is very high, even though water is still cold.
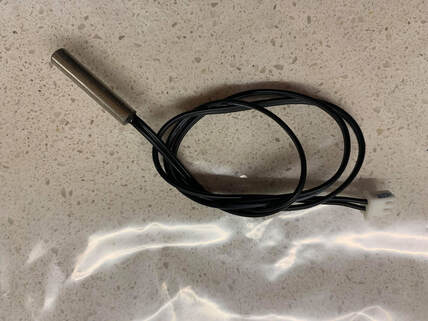
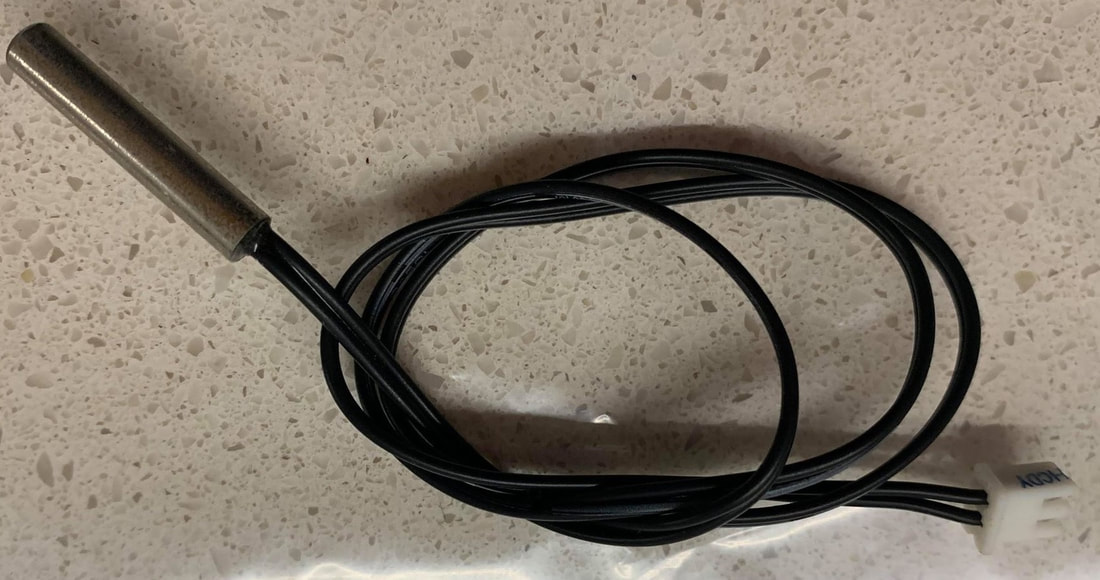
( Repair part needed “COLD READER” )
The thermostat inside the tank may also be frozen over,
leave overnight to defrost naturally for best results
/ cold reader is located in the bottom of the tank.
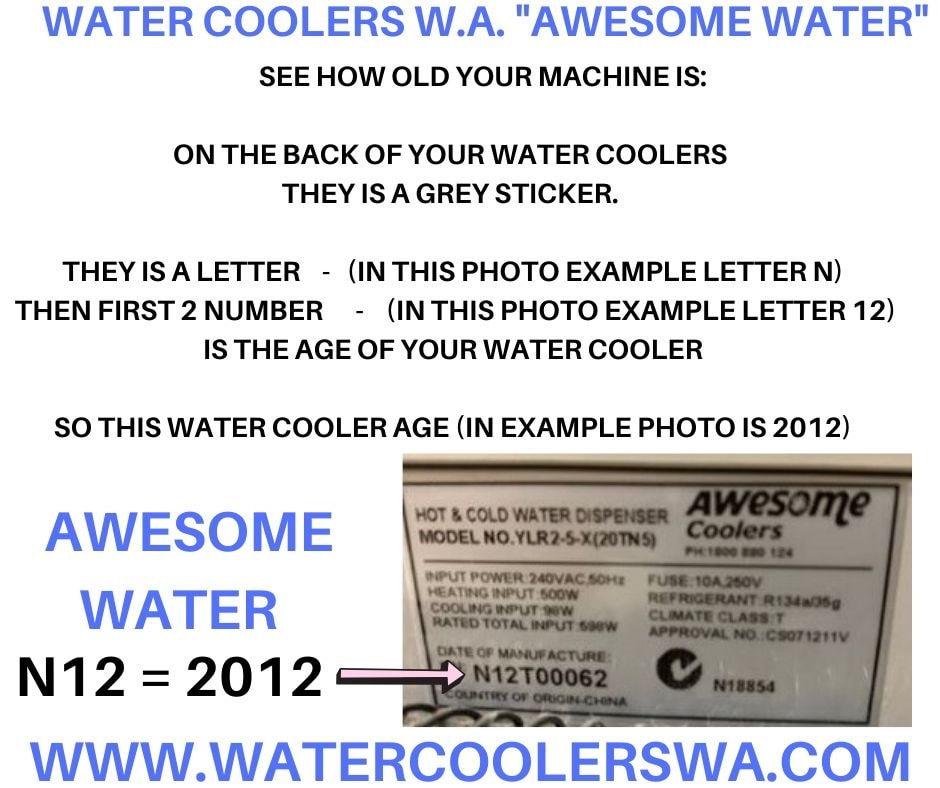
Newer water coolers purchased after 2009 the thermostat
/ cold reader is located in the side of the tank.
Easier for replacing the cold reader
Recommended to add a Heat Compound
|
TURN POWER OFF & UNPLUG YOUR WATER COOLER
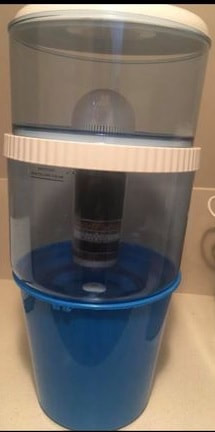
Remove bottle set, set aside Drain all water out of cooler |
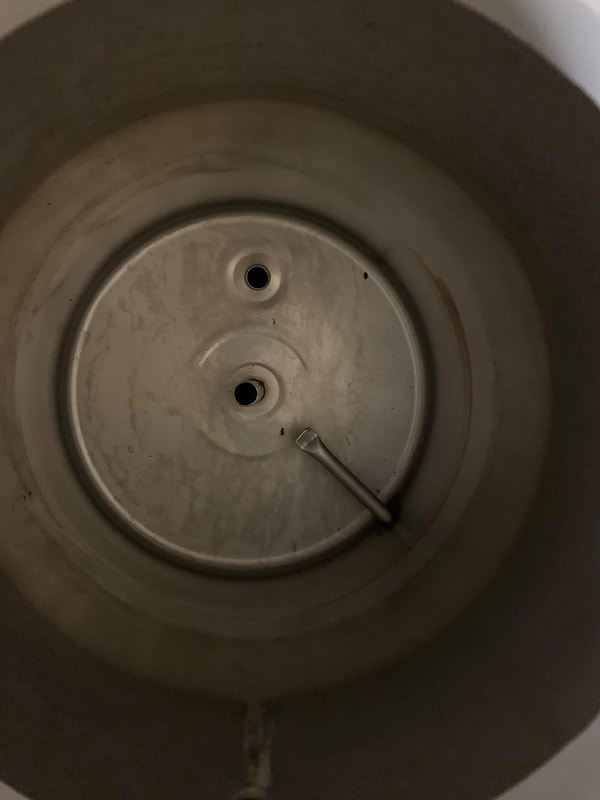
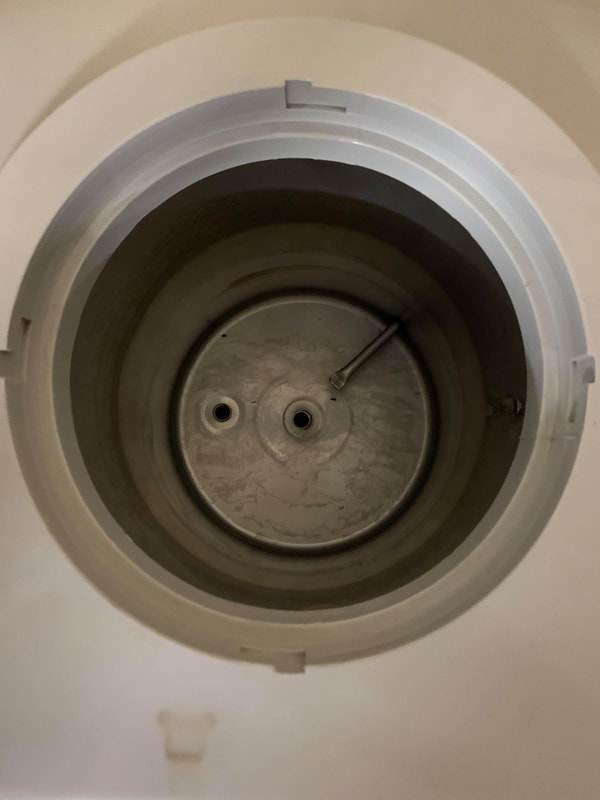
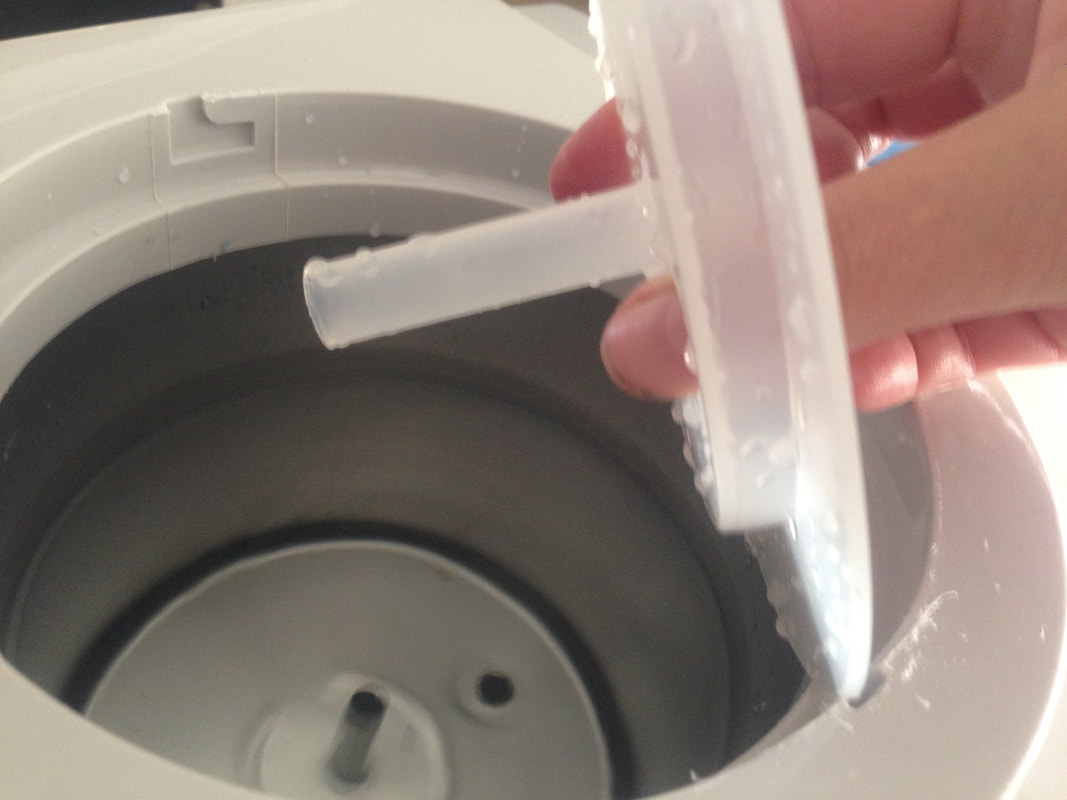
Remove the spindle – plastic in tank
If you see a ice block leave longer |
Pull pipe that leads to tap
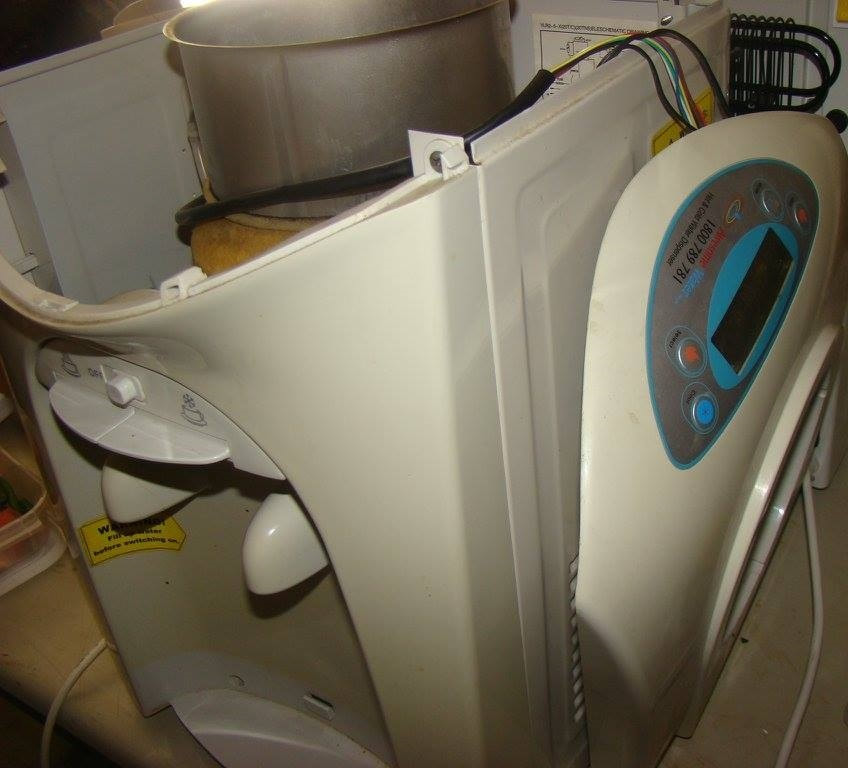
Unclip the front face via clips on side.
Remove front face of water cooler
Locate old cold reader, follow the wire via white cable to
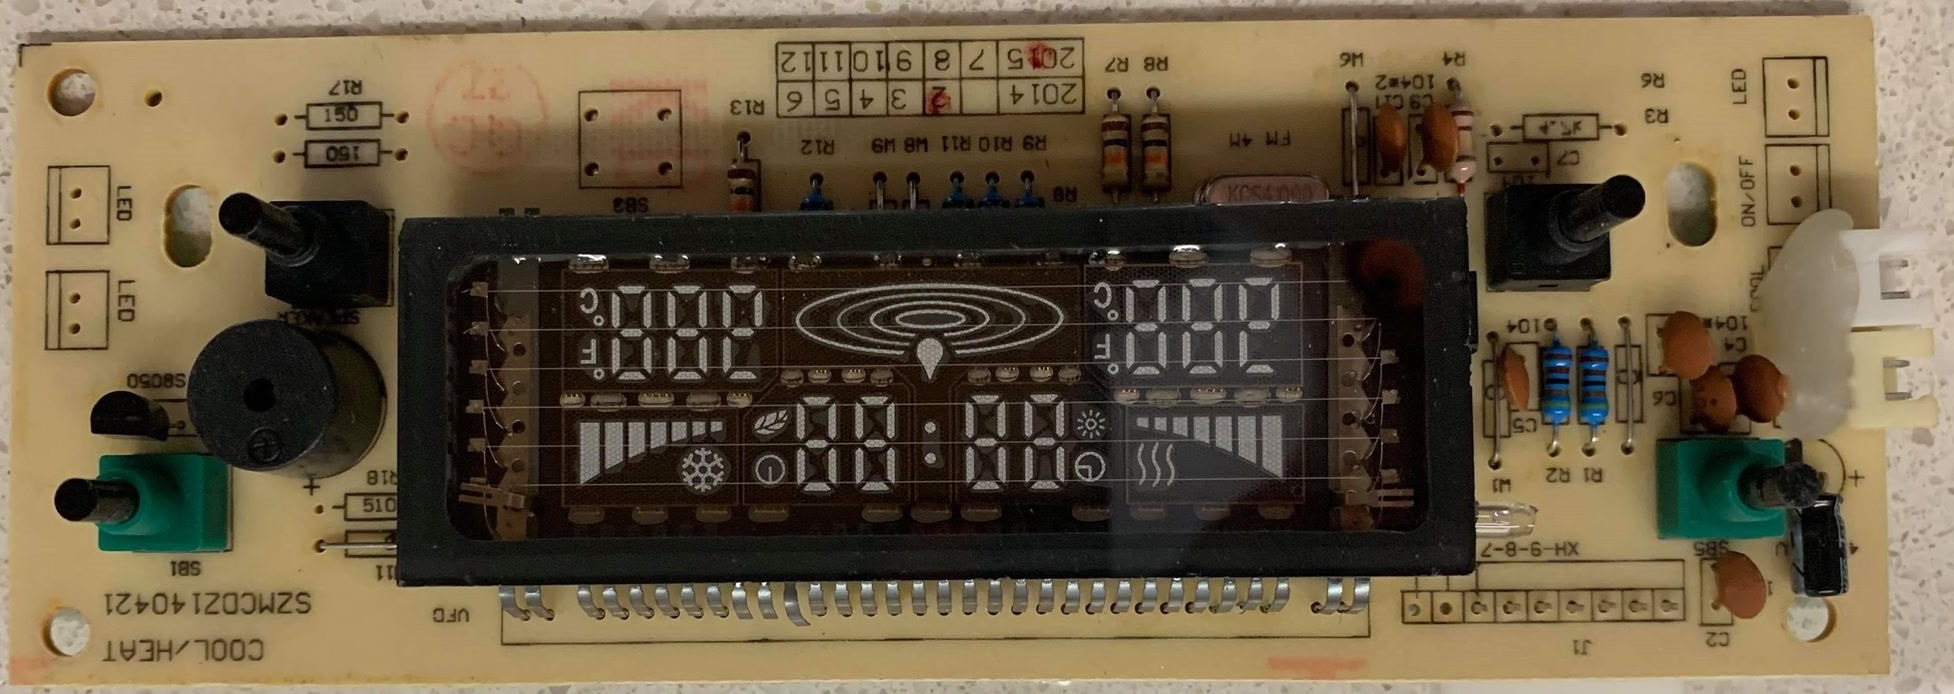
Didgiboard (screen)
NEWER WATER COOLERS cold reader located at side
You may have to remove some foam to view cold reader
Firmly pull cold reader
Apply heat compound to metal part
Plug cold reader to Didgiboard (white pin)
If cold reader is located at bottom of tank
Use a stay tie to fasten pipe and tube together
The job of the sensor is to read and set the required temperature of the machine.
If your water cooler is reading anything other than the setting
you have set your water cooler for.
If you set it any colder may freeze up the water inside the cold tank.
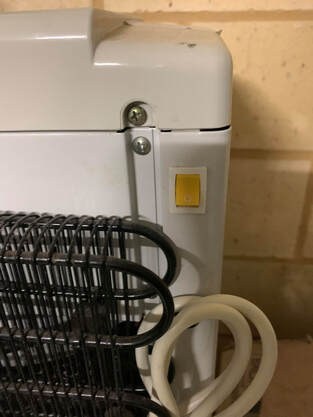
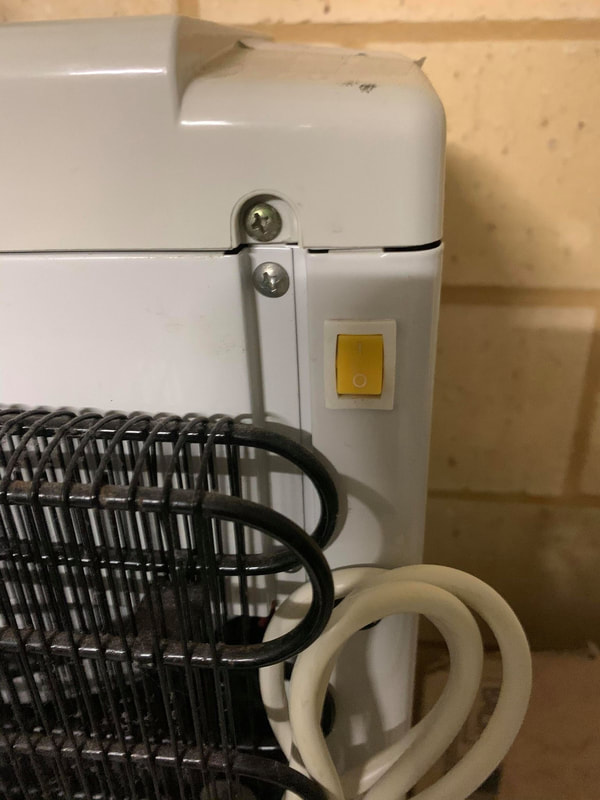
SUITS WATER COOLER WITH 1 X SWITCH AT BACK OF MACHINE (YELLOW)
BENCH TOP & FREESTANDING
REPLACING A COLD READER
No water coming out of cold tap
Could be freezing inside the tank
Digital screen temperature is very high, even though water is still cold. ( Repair part needed “COLD READER” )
When cold tank has frozen, best to turn off & leave to defrost overnight
The thermostat inside the tank may also be frozen over, leave overnight to defrost naturally for best results
If your water cooler was purchased before 2009 the thermostat / cold reader is located in the bottom of the tank.
Newer water coolers purchased after 2009 the thermostat / cold reader is located in the side of the tank.
Easier for replacing the cold reader
Recommended to add a Heat Compound
|
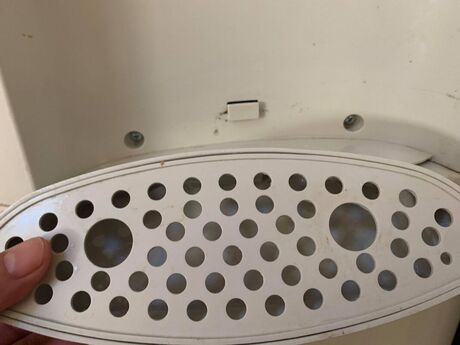
Remove drip tray, then the 2 screws
Cut stay tie that holds pipes together Pull pipe that leads to tap Unclip the front face via clips on side. |
Remove front face of water cooler
Locate old cold reader, follow the wire via white cable to Didgiboard (screen) |
|
OLDER WATER COOLERS
cold reader located at bottom NEWER WATER COOLERS cold reader located at side You may have to remove some foam to view cold reader Firmly pull cold reader Apply heat compound to metal part |
OLDER FREESTANDING WATER COOLERS
Have Green & Yellow Switch at the back, clamp wires to connect the fridge NEWER FREESTANDING WATER COOLERS Only have 1 x yellow switch |
Plug cold reader to Didgiboard (white pin)
If cold reader is located at bottom of tank
Use a stay tie to fasten pipe and tube together
CHECK ALL PARTS BEFORE CLOSING MACHINE
Place all screws taken off into allocated position in reverse order of taking off...
Screws behind drip tray
Screws at front top
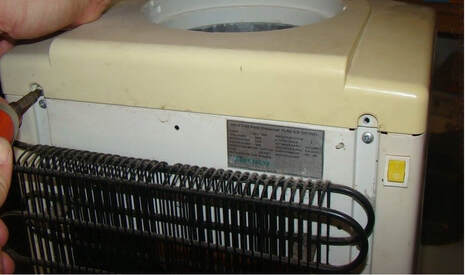
Screws at back
COLD OR HOT SENSOR + ALK STICK
OPTIONAL EXTRA FILTERS (1 = $50) (2 = $80) (3 = $110) (4 = $130)
The job of the sensor is to read and set the required temperature of the machine.
If your water cooler is reading anything other than the setting you have set your water cooler for.
Recommended cold sit setting between 6 - 8 degrees.
If you set it any colder may freeze up the water inside the cold tank.
SUITS WATER COOLER WITH 1 X SWITCH AT BACK OF MACHINE (YELLOW)
BENCH TOP & FREESTANDING
REPLACING A COLD READER
No water coming out of cold tap
Could be freezing inside the tank
Digital screen temperature is very high, even though water is still cold. ( Repair part needed “COLD READER” )
When cold tank has frozen, best to turn off & leave to defrost overnight
The thermostat inside the tank may also be frozen over, leave overnight to defrost naturally for best results
If your water cooler was purchased before 2009 the thermostat / cold reader is located in the bottom of the tank.
Newer water coolers purchased after 2009 the thermostat / cold reader is located in the side of the tank.
Easier for replacing the cold reader
Recommended to add a Heat Compound
TURN POWER OFF & UNPLUG YOUR WATER COOLER
Remove bottle set, set aside
Drain all water out of cooler
Remove the spindle – plastic in tank
If you see a ice block leave longer
Unscrew 2 x top screws at back loosening the lid
Remove lid leaving wires in tact
Remove 2 x screws located at front when lid removed.
Remove drip tray, then the 2 screws
Cut stay tie that holds pipes together
Pull pipe that leads to tap
Unclip the front face via clips on side.
Remove front face of water cooler
Locate old cold reader, follow the wire via white cable to
Didgiboard (screen)
OLDER WATER COOLERS cold reader located at bottom
NEWER WATER COOLERS cold reader located at side
You may have to remove some foam to view cold reader
Firmly pull cold reader
Apply heat compound to metal part
OLDER FREESTANDING WATER COOLERS
Have Green & Yellow Switch at the back, clamp wires to connect the fridge
NEWER FREESTANDING WATER COOLERS
Only have 1 x yellow switch
Remove cold reader out of casing
Plug cold reader to Didgiboard (white pin)
If cold reader is located at bottom of tank
Use a stay tie to fasten pipe and tube together
CHECK ALL PARTS BEFORE CLOSING MACHINE
Place all screws taken off into allocated position in reverse order of taking off...
Screws behind drip tray
Screws at front top
Screws at back
