SETTING UP YOUR WATER COOLER
FIRST TIME IN USE
| SETTING UP YOUR WATER COOLER FIRST TIME USE FEB 2020 |
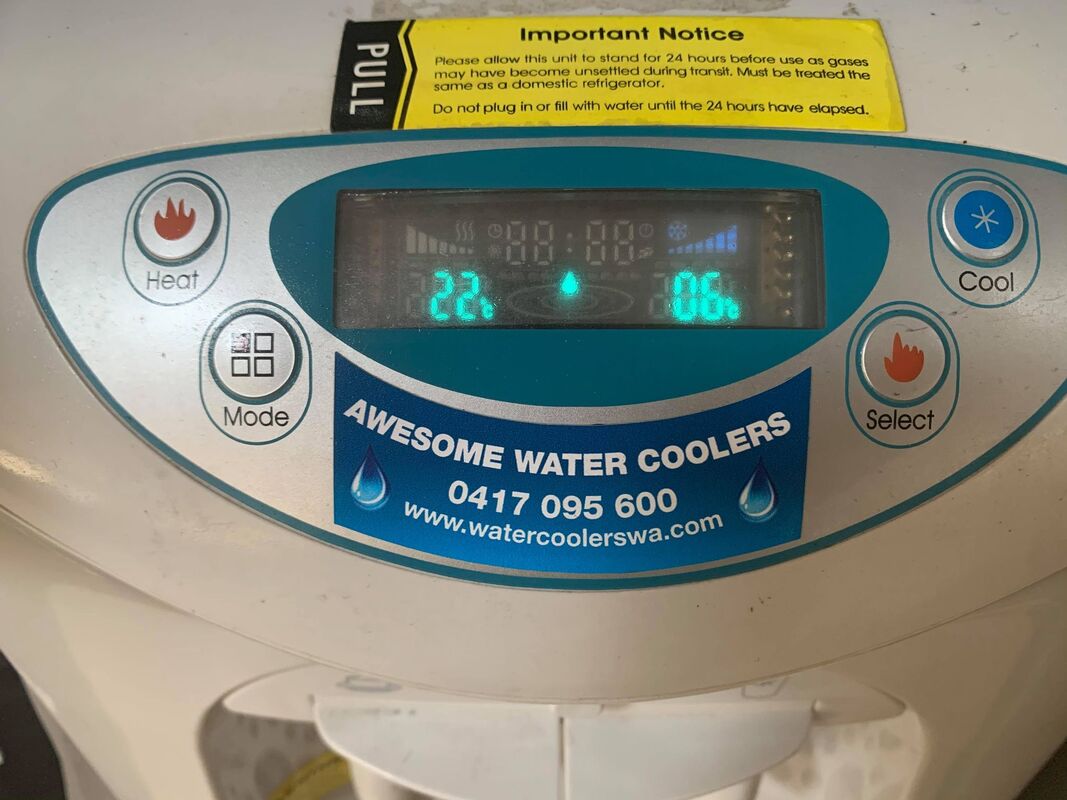
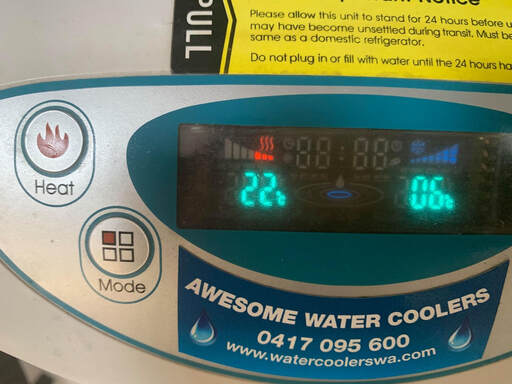
How to set your temperatures on the digital hot & cold model.
Temperature settings on the older model hot & cold, with clock in display.
DO NOT TURN POWER ON
Until water flowing from hot tap
Open water cooler box first with knife (be careful)
Remove foam – place in box for rubbish
Place water cooler in position, needs a power point.
Best in view - in kitchen or laundry area etc
The closer to a sink for refilling is the best
Best kept away and out of direct sunlight
|
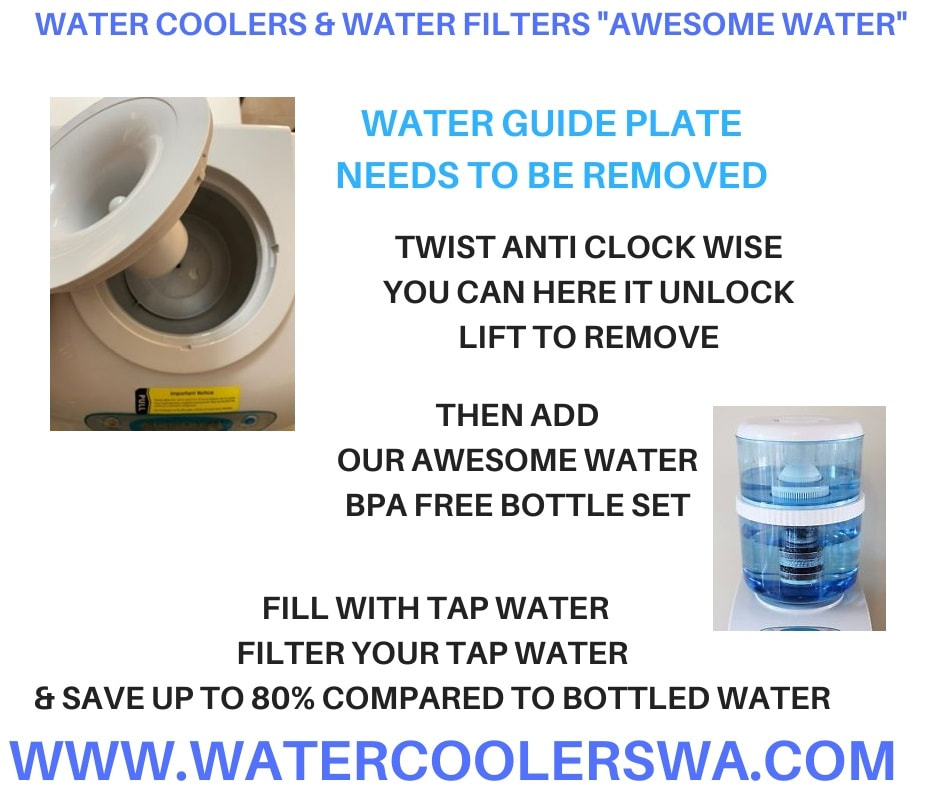
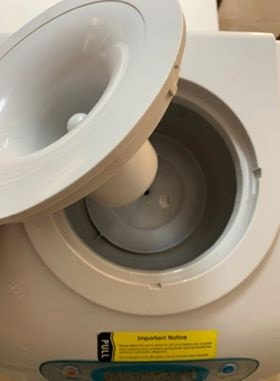
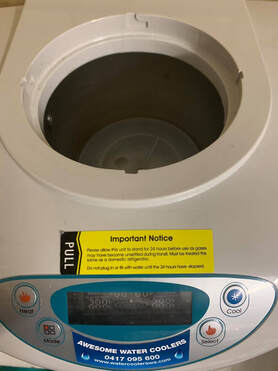
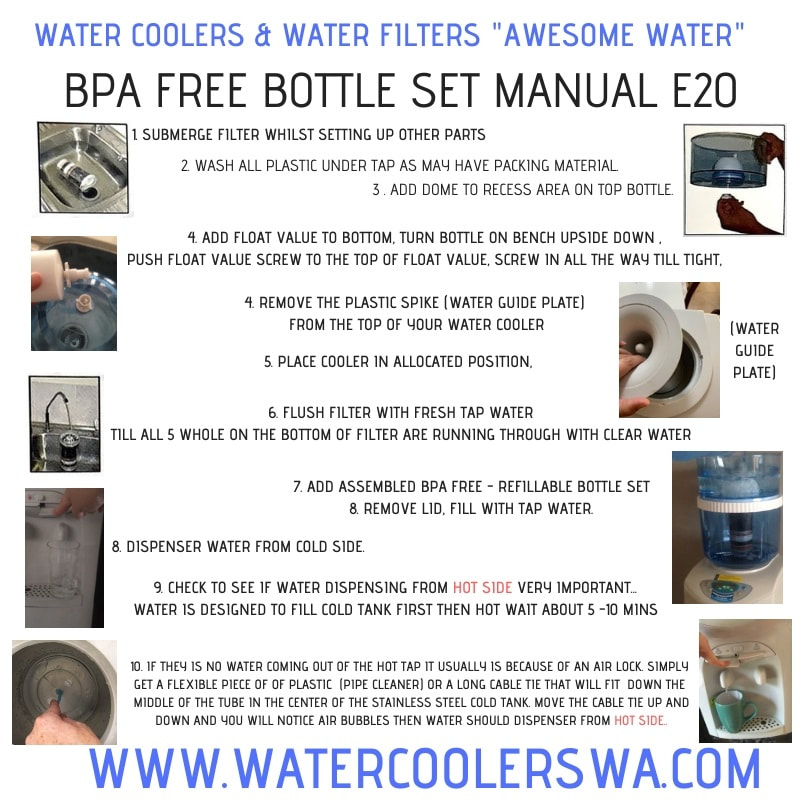
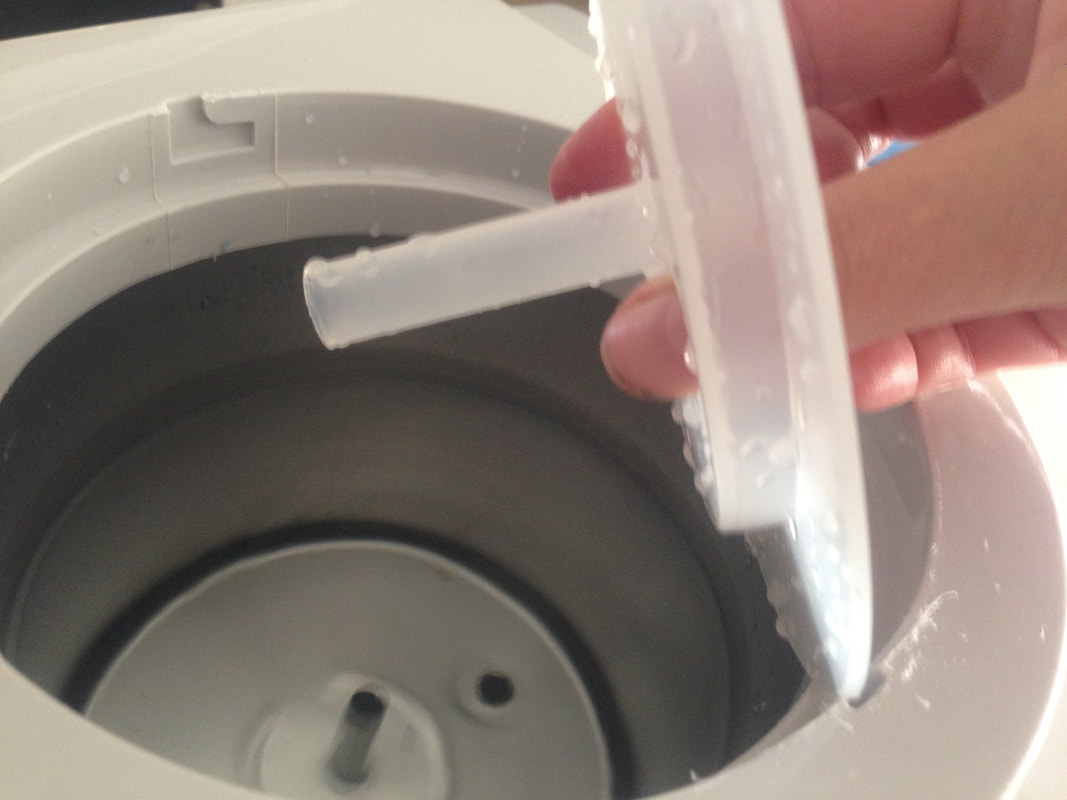
Remove the water guide plate, from the top of water cooler
just give a twist and pull to remove. |
Open other box containing bottle set
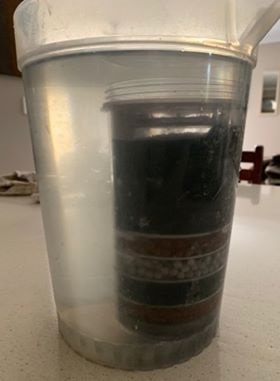
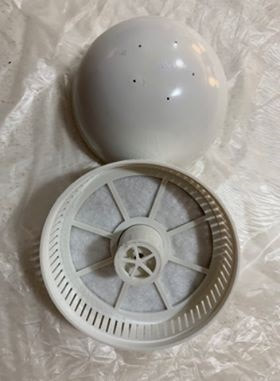
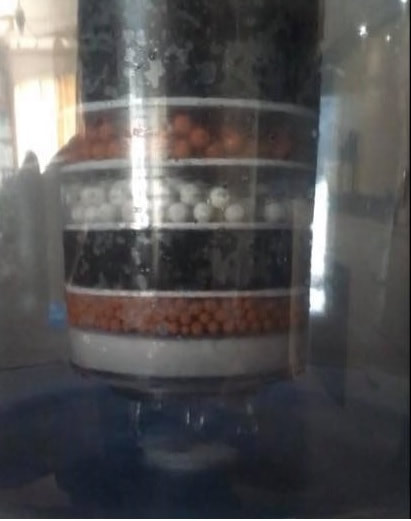
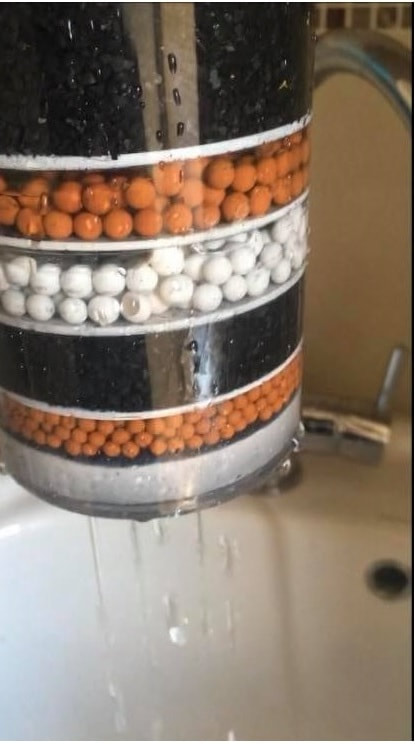
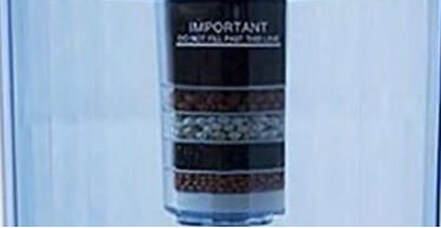
Place filter into a jug fill with water to start the filtration process, whist you assemble your bottle set |
|
Wash all bottle set thoroughly with water.
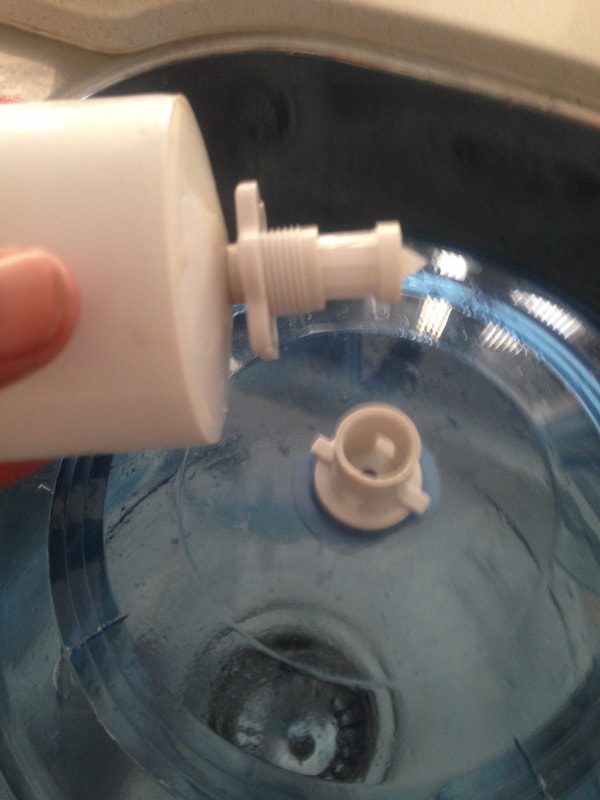
Screw float value to bottom bottle set |
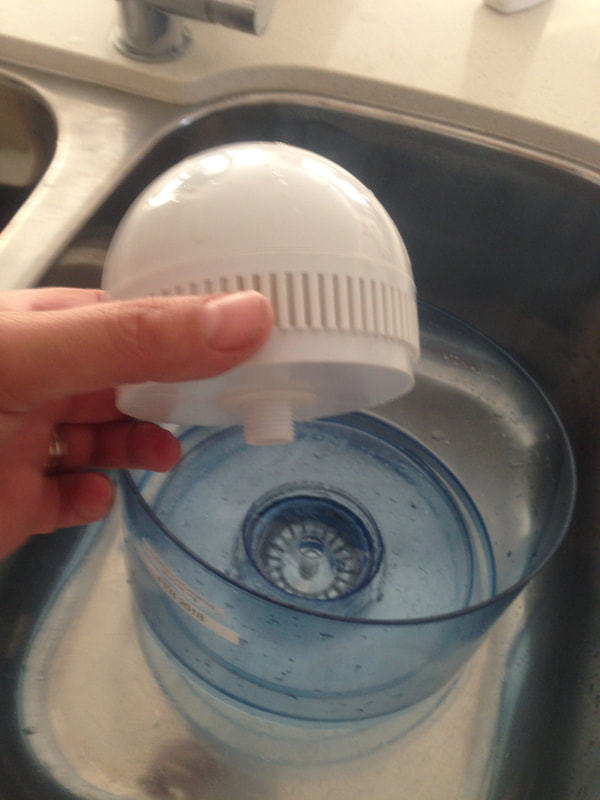
Screw dome to top of bottle set. (Unscrew the nut underneath)
Place dome inside the top bottle set use nut to fasten into place. |
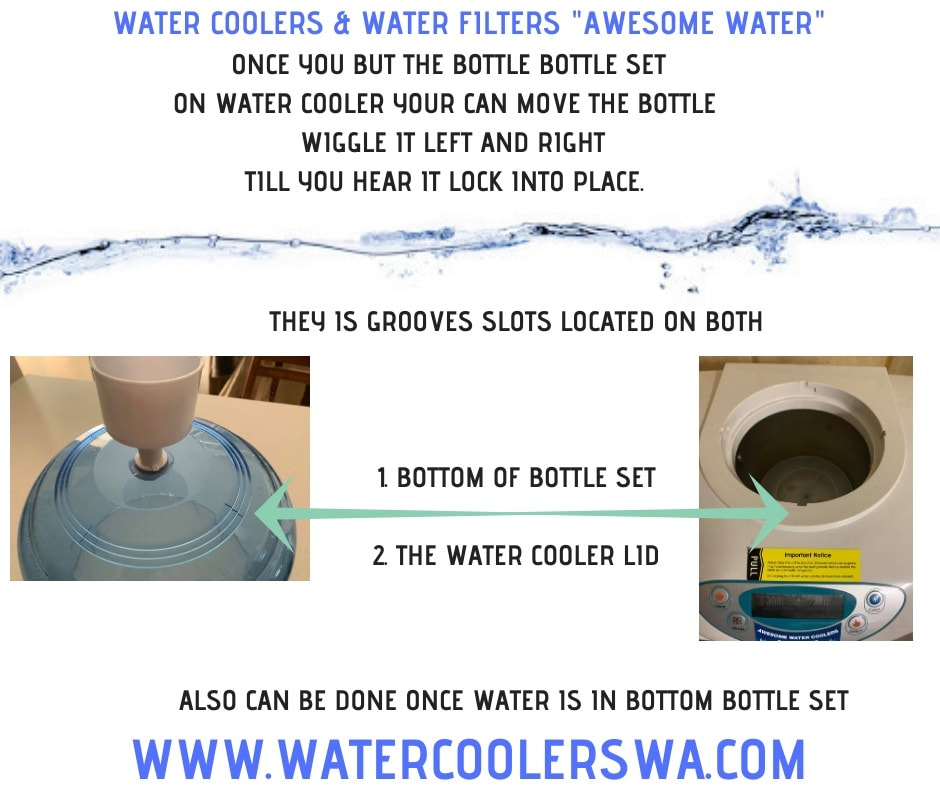
on the bottom of you bottle they are grooves,
ON both the bottom of your bottle and on the top of your water cooler.
ON both the bottom of your bottle and on the top of your water cooler.
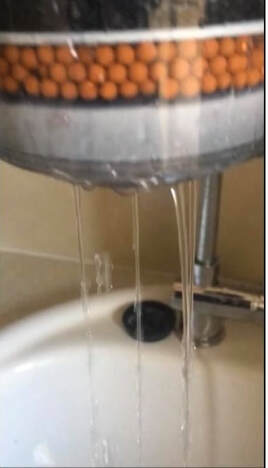
IF no flow through filter, use water in jug and pour 1/3 over filter,
give filter a tap at the top to help loose the filter media,
as it can be very tightly compacted.
Lift and check the 5 holes again,
IF flowing nicely add to the underneath of top bottle set,
IF flow is still slow repeat with the flushing of water from the jug,
one or 2 more time until minimum of a 1 hole flowing thoroughly
and 2 -3 holes water tricking through.
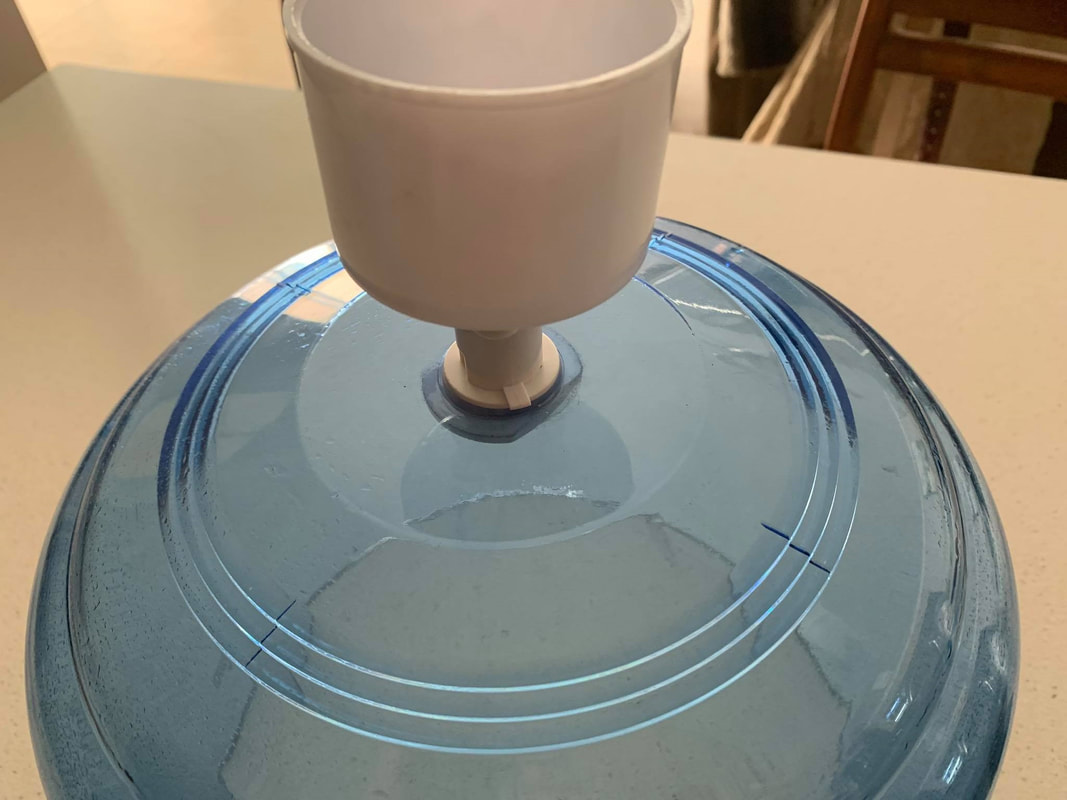
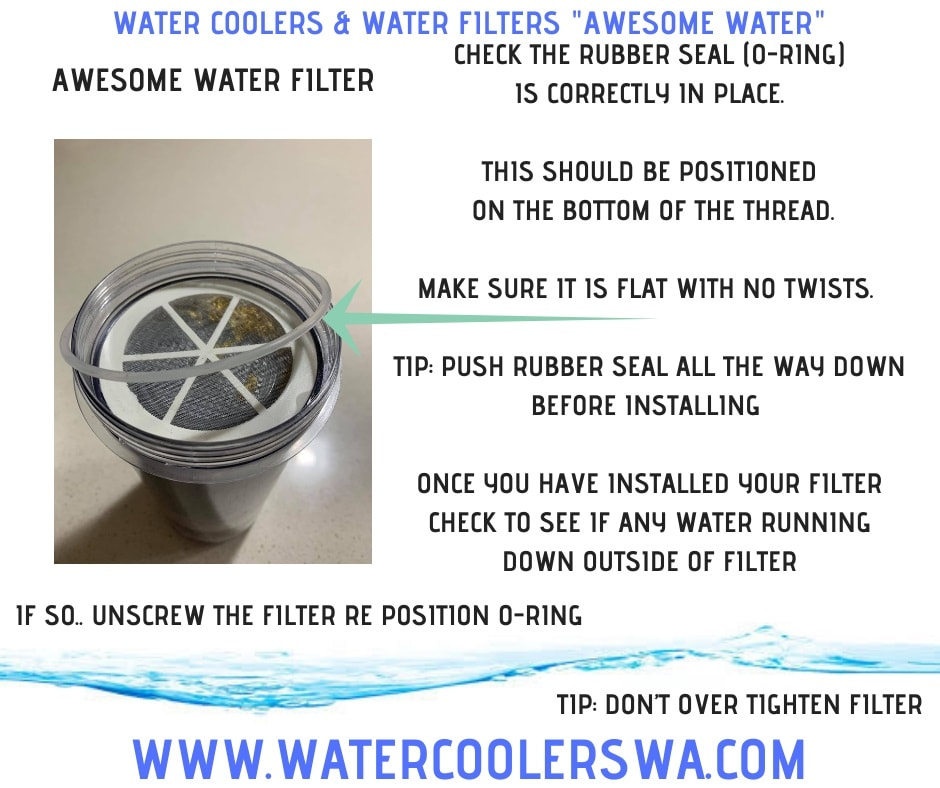
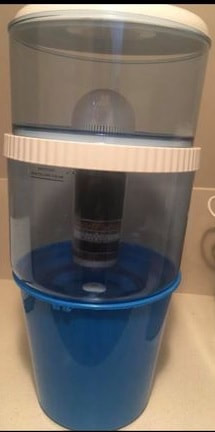
Add filter to underneath of top bottle set
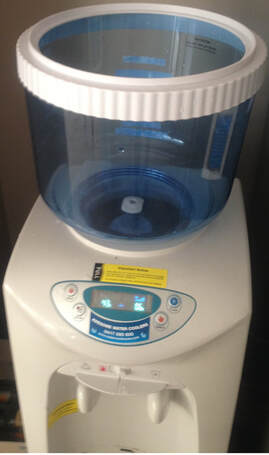
top bottle set to white plate and bottom of bottle set,
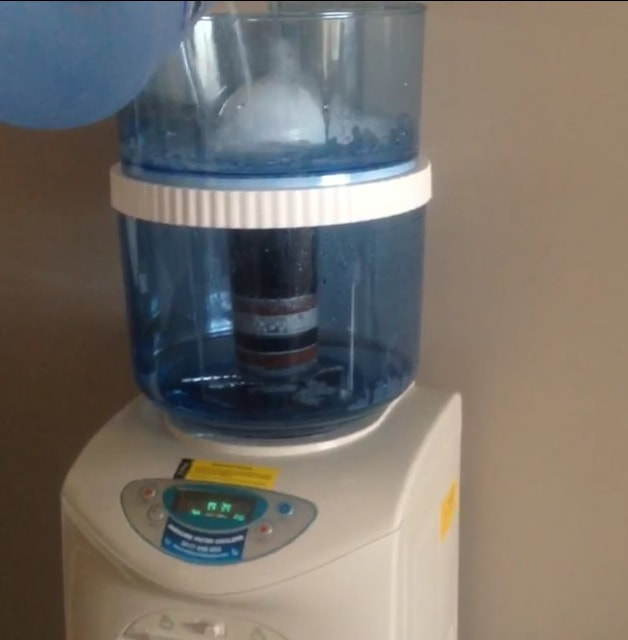
Fill a bucket full of tap water and pour into the top bottle set
to covering the dome, they should be air bubbles
coming out of the dome to release the trapped air.
You can fill to the brim at this stage as water needs to fill the hot pot,
cold tank and bottle set on set up.
LEAVE for 10 minutes for the filtration process to filter most of the water.
IF so, you can plug you water cooler in via plug to wall and switch on,
They is a switch at the back of the water cooler that needs turning on also.
They is a switch at the back of the water cooler that needs turning on also.
Then press the cool BLUE snowflake button once to turn on the cold side,
this should already be set for 5 deg.
IF you are using the hot side of your water cooler as a kettle,
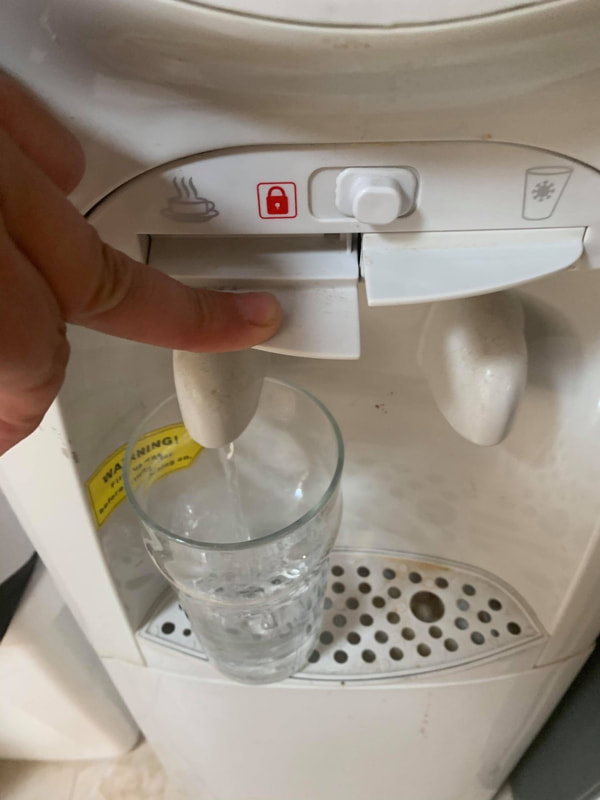
Check again that they is water flowing via hot tap,
this should already be set for 5 deg.
IF you are using the hot side of your water cooler as a kettle,
Check again that they is water flowing via hot tap,
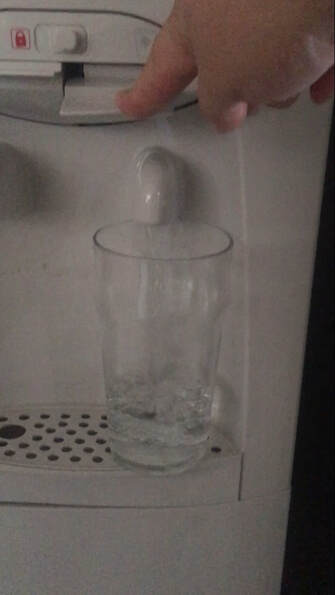
MAKE SURE - THEY IS WATER DISPENSING FROM HOT TAP
BEFORE TURNING ON HOT AS THIS WILL BURN OUT THE HOT POT
BEFORE TURNING ON HOT AS THIS WILL BURN OUT THE HOT POT
IF so press the RED Heat button once only, this should be set for 92 deg.
IF still no water from hot tap after about 10 minutes,
IF still no water from hot tap after about 10 minutes,
|
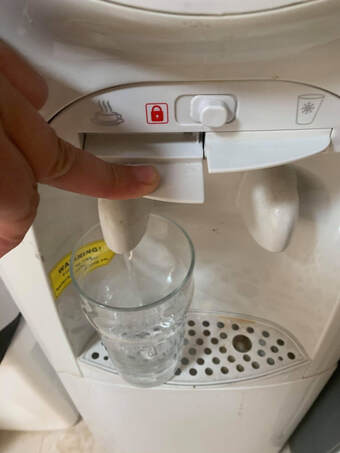
The hot tank has an airlock.
Best to remove the bottle set, place in sink or bucket as water will flow from the float value. You can push up the float value to stop the water flow if you need to carry... |
Remove the spindle (white plastic inside cold tank, give a twist and pull up,
they should be air bubbles releasing the air lock now, |
Check before re assembling, by check the hot tap is dispensing
with the spindle off the spike in the cold tank and bottle set off.
IF flowing nicely re- assemble
IF still no flow from hot tap, leave 5 minutes, try again
Checking & Changing Temperature Settings
Hot – 1 litre in hot tank
Cold – 4 litres in cold tank
with the spindle off the spike in the cold tank and bottle set off.
IF flowing nicely re- assemble
IF still no flow from hot tap, leave 5 minutes, try again
Checking & Changing Temperature Settings
Hot – 1 litre in hot tank
Cold – 4 litres in cold tank
To check what the temperature is set on
Select Mode
The temperature flashing on the left is the set
temperature for hot side The temperature flashing on the right
is the set temperature for cold side
To adjust the set temperatures:
Select Mode
Set temperate on hot will be flashing on left
Set temperate on cold will be flashing on right
Push Heat button to increase required temperature
Push Cool button to decrease required temperature
Display will (stop flashing) after a few seconds
Red bars indicate heating Current to temperature
ON/OFF button for hot
Press & hold for 2 sec to turn off
ON/OFF button for cold
Snow flake Indicates cold is on
Blue bars running indicate unit is cooling
Select Mode
The temperature flashing on the left is the set
temperature for hot side The temperature flashing on the right
is the set temperature for cold side
To adjust the set temperatures:
Select Mode
Set temperate on hot will be flashing on left
Set temperate on cold will be flashing on right
Push Heat button to increase required temperature
Push Cool button to decrease required temperature
Display will (stop flashing) after a few seconds
Red bars indicate heating Current to temperature
ON/OFF button for hot
Press & hold for 2 sec to turn off
ON/OFF button for cold
Snow flake Indicates cold is on
Blue bars running indicate unit is cooling
